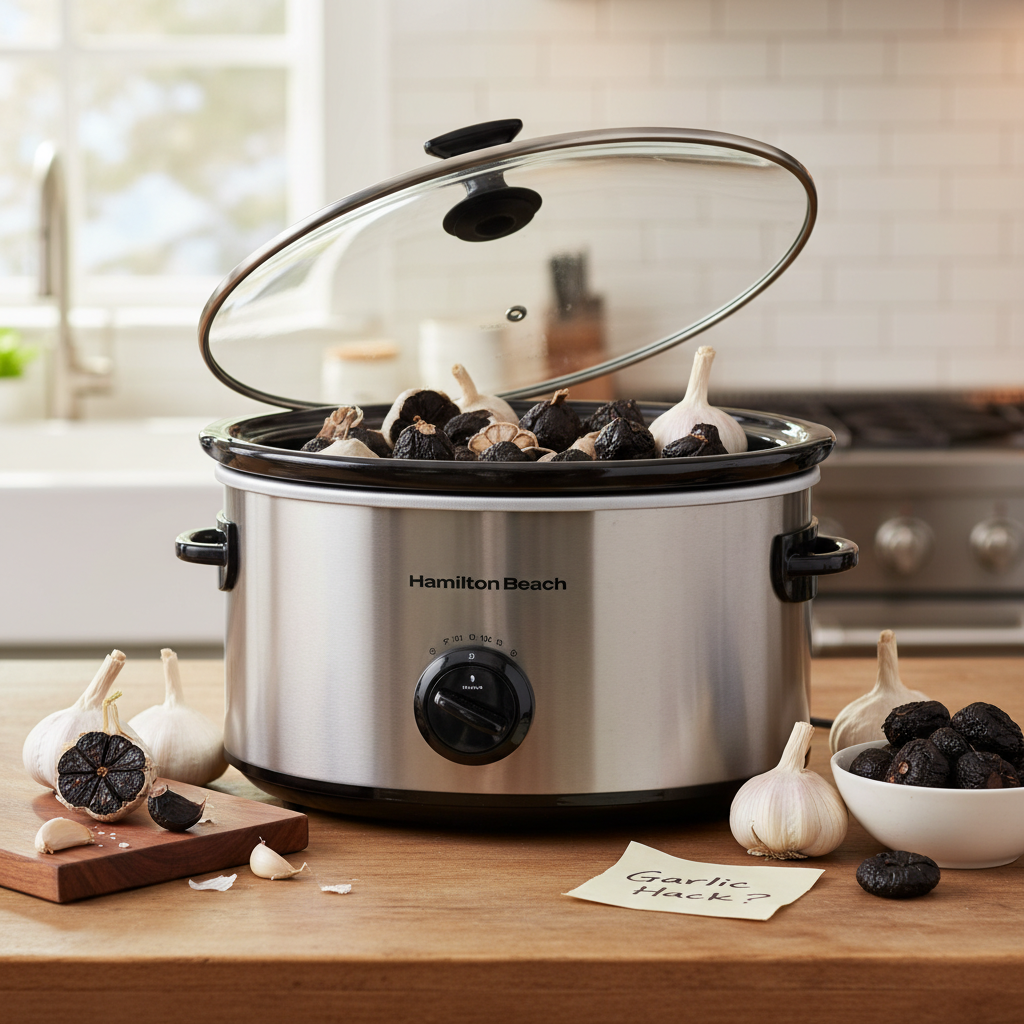
The elusive allure of black garlic—its deep, umami-rich flavor and jelly-like texture—has captivated chefs and home cooks alike. While store-bought versions can be pricey, the good news is that you can unlock this culinary secret right in your own kitchen. This guide will walk you through the precise steps to build your very own black garlic box using a heating pad, offering a cost-effective and deeply satisfying way to create this “black gold” at home. Say goodbye to guesswork and hello to consistent, delicious results.
Understanding the Essence of Black Garlic Transformation (The Maillard Reaction)
Before diving into construction, it’s crucial to understand what transforms ordinary garlic into its prized black counterpart. This isn’t fermentation in the traditional sense, but rather a slow, controlled enzymatic process known as the Maillard reaction. This complex chemical reaction, responsible for the browning and flavor development in many cooked foods, requires consistent warmth and humidity over an extended period.
For optimal black garlic production, a temperature range between 120°F and 190°F (49°C to 88°C) is generally recommended, with many successful DIY projects targeting around 140°F (60°C). Crucially, the temperature must always remain above 135°F (57°C) to prevent the growth of harmful bacteria like Clostridium botulinum, which can lead to severe foodborne illness. Alongside precise temperature, consistent high humidity, typically 80-90%, is vital. This prevents the garlic from drying out, ensuring the characteristic soft, moist texture. The entire transformation typically takes between 3 to 8 weeks, depending on your chosen temperature and the size of your garlic bulbs.
Essential Components for Your DIY Black Garlic Box
Crafting a dedicated black garlic box ensures superior control and consistency compared to makeshift methods. Here’s what you’ll need to gather to build your custom setup.
The Box Itself: Insulation is Key
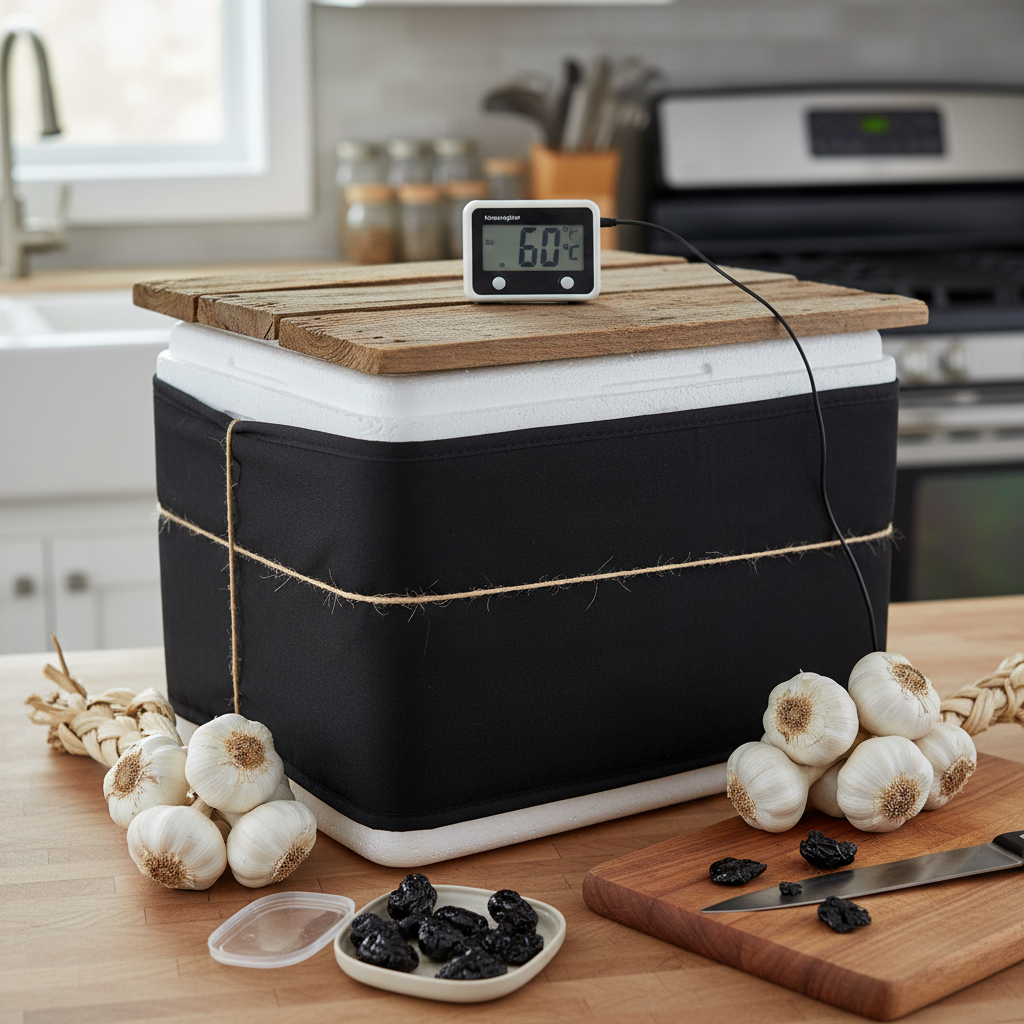
The foundation of your DIY black garlic fermenter is an insulated enclosure that can maintain a stable internal temperature.
- Insulated Cooler: A standard camping cooler, especially a higher-quality one, can be an excellent starting point due to its inherent insulation properties.
- Repurposed Appliance: An old, non-functioning refrigerator, freezer, or even a wine cooler provides superb insulation and a ready-made enclosure. A wine cooler, in particular, is often suggested in DIY circles for its compact size and effective insulation.
- Custom-Built Box: For the ambitious DIYer, a wooden box can be constructed and then insulated internally with foam insulation boards. Ensure any materials used are food-safe and can withstand consistent heat.
|
Our Picks for the Best Black garlic fermenter in 2026
As an Amazon Associate I earn from qualifying purchases.
|
||
| Num | Product | Action |
|---|---|---|
| 1 | WantJoin Black Garlic Fermenter 6L - Full Automatic Intelligent Control Black Garlic Maker, 360° Even Fermented,Makes 3-4 LBS Garlic Fermenter Machine, Makes Multi Clove & Whole Clove Garlic |

|
| 2 | 6L Black Garlic Fermenter Multifunctional Intelligent Fermenter Pot 6L Black Garlic, Sweet Rice, Natto,Yogurt Maker Garlic Fermenter Machine DIY Cooker |
|
| 3 | 6L Black Garlic Fermenter,Yogurt Maker with Adjustable Temperature & Time Control,Kimchi machine,Sweet Rice Wine Maker Full Automatic,Natto Maker,FCC UL Listed |
|
| 4 | Moongiantgo 8L Black Garlic Fermenter Garlic Fermenting Machine, Easy One-Button Operation Automatic Intelligent Large Capacity Black Garlic Maker with Precise Time Control for 6-16 Days, 110V (8L) |
|
| 5 | INTBUYING 6L Black Garlic Fermenter,Garlic Ferment,Black Garlics Ferment Pot,Full Automatic Intelligent Control Black Garlics Maker Black Garlic Maker |
|
| 6 | Moongiantgo 7.5L Black Garlic Fermenter, Automatic Intelligent Control Garlic Fermenter Natto, Yogurt, Kimchi, Wine Fermenter Machine, Garlic Cooker with Precise Time Temperature Control, 110V (Brown) |
|
| 7 | 5L Black Garlic Fermenter, Automatic Garlic Fermenting machine, Wine Fermenting Machine, Yogurt Maker with Temperature Control |
|
| 8 | TECHTONGDA 5L Black Garlic Fermenter 110V Garlic Cooker 3D Heating Full Automatic Intelligent Control |
|
| 9 | 5L Black Garlic Fermenter Full Automatic Intelligent Control Garlics Maker Multi Clove Garlic Cooker FCC UL Approved |
|
| 10 | 110V 6L Black Garlic Fermenter Intelligent Fully Automatic Black Garlic Machine Black Garlics Ferment Pot Garlic Ferment Box Black Garlic Maker DIY Cooker |
|
Consider the volume of garlic you wish to process when choosing your box size.
The Heart of the Heat: Choosing Your Heating Pad
The heating pad is your primary heat source, responsible for initiating and sustaining the Maillard reaction.
- Reptile Heating Pads: These are popular choices for DIY fermenters due to their consistent, low-level heat output and often come with adhesive backing for easy installation. Look for models designed for terrariums, ensuring they are waterproof or water-resistant.
- Seed Germinating Mats: Similar to reptile pads, these are designed to maintain a steady temperature for plant propagation and can work effectively.
- Safety Features: Prioritize heating pads with built-in thermal cut-offs or those known for reliable, continuous operation. Always ensure the heating pad is rated for continuous use.
Select a heating pad wattage appropriate for the size of your box. Too small, and it won’t reach temperature; too large, and it might cycle on and off too frequently or create hot spots.
Precision Control: The Thermostat
An external digital thermostat is arguably the most critical component for safety and success. It allows you to set and maintain the exact temperature required, overriding the heating pad’s internal controls (if any).
- Inkbird or Similar Controllers: These commercially available temperature controllers are user-friendly and highly recommended. They typically include a temperature probe that you place inside your box and an outlet where you plug in your heating pad.
- Features: Look for a thermostat with a clear digital display, a reliable probe, and the ability to set both a target temperature and a differential (the allowable temperature swing). This ensures your box stays within the safe zone, above 135°F (57°C), without constant manual intervention.
Mastering Moisture: Humidity Management
High humidity prevents the garlic from drying out and promotes the desired soft texture.
- Small Water Dish: A simple, heat-safe dish filled with water placed inside the box can provide ambient humidity.
- Wrapping Garlic: Individually wrapping garlic bulbs tightly in plastic wrap (food-grade) and then aluminum foil is an effective way to trap the garlic’s natural moisture, making external humidity control less critical, though still beneficial.
- Humidity Controller (Optional): For advanced setups, a dedicated humidity controller (hygrostat) coupled with a small humidifier or a reptile fogger can offer precise humidity regulation.
Airflow for Uniformity: Small Fan (Optional but Recommended)
While not strictly necessary for every setup, a small fan can significantly improve heat distribution and prevent localized hot or cold spots, leading to more consistent results across all your garlic bulbs.
- Computer Fan: A small, low-power computer fan (e.g., 12V DC with an adapter) can be easily integrated.
- Placement: Position the fan to gently circulate air without directly blasting the garlic, which could lead to drying.
Step-by-Step: Constructing Your Black Garlic Box with a Heating Pad
Ready to build? Follow these steps carefully to assemble your homemade black garlic fermenter.
Gather Your Materials
- Insulated box (cooler, old wine cooler, or custom-built)
- Reptile heating pad or seed germinating mat
- Digital temperature controller (e.g., Inkbird ITC-308) with probe
- Silicone sealant or strong adhesive (food-safe, heat-resistant)
- Aluminum foil (optional, for lining)
- Small container for water (if not wrapping garlic individually)
- Small computer fan and adapter (optional)
- Drill, utility knife, scissors, screwdriver
- Electrical tape (for securing probe, if needed)
Prepare the Enclosure
If using a custom-built box, ensure it is well-insulated on all sides. For any box, consider lining the interior walls with aluminum foil. This helps reflect heat and distribute it more evenly throughout the chamber. Use food-safe, heat-resistant silicone sealant or adhesive to secure the foil, if desired. For existing appliances, ensure they are thoroughly cleaned.
Install the Heating Pad
Position the heating pad on the bottom or one of the side walls of your box. If it has an adhesive backing, secure it firmly. If not, use appropriate heat-resistant adhesive or tape to keep it in place. Ensure it lies flat and has good contact with the box’s surface for efficient heat transfer.
Integrate the Thermostat
- Mount the Controller: Mount your digital temperature controller to the outside of the box or a nearby stable surface.
- Probe Placement: Carefully drill a small hole into the box, just large enough for the thermostat’s temperature probe. Position the probe inside the box, ensuring it is suspended in the air (not touching the heating pad or garlic) to measure the ambient air temperature accurately. Seal around the probe wire with silicone sealant to maintain insulation.
- Wiring: Plug your heating pad directly into the “heating” outlet of your temperature controller. Then, plug the controller itself into a wall outlet.
Add Humidity Control
If you’re relying on ambient humidity, place a small, heat-safe dish filled with water inside the box. Alternatively, if you plan to wrap each garlic bulb individually, this step might be less critical, but an ambient water source can still help stabilize the environment.
Incorporate Air Circulation (If Using)
If you’ve opted for a fan, mount it inside the box, ensuring its power cable can exit through a small, sealed hole, or is connected via an internal power source (e.g., a low-voltage adapter that’s safely wired). Position it so it gently moves air without creating direct drafts on the garlic.
Initial Testing and Calibration
Before adding any garlic, plug in your setup and turn on the thermostat. Set your desired temperature (e.g., 140°F / 60°C). Let the box run for at least 24 hours, monitoring the temperature with an additional thermometer to ensure accuracy and stability. Adjust your thermostat settings if needed to achieve a consistent temperature.
“Patience and precision are the cornerstones of successful DIY black garlic. Overlooking the smallest detail in temperature control can jeopardize weeks of effort, or worse, create an unsafe product.” – Admin of ReviewESL.com, Fermentation Technology Specialist
Preparing Your Garlic for Transformation
Once your black garlic box is ready, it’s time to prepare your star ingredient.
- Select Garlic: Choose fresh, plump, firm garlic bulbs. Avoid any with bruises, sprouts, or soft spots. Don’t wash the bulbs; simply wipe off any dirt.
- Trim Stems: Trim any excessively long stems, but be careful not to cut so far down that the individual cloves separate from the bulb.
- Wrap for Moisture: This step is crucial for maintaining humidity within each bulb. Individually wrap each whole garlic bulb first in a layer of food-grade plastic wrap, ensuring a tight seal. Then, wrap it again in aluminum foil. This double layer helps retain moisture effectively throughout the long cooking process.
- Load the Box: Arrange the wrapped garlic bulbs inside your black garlic box. Place them in a single layer if possible, or stack them loosely, ensuring air can circulate if you have a fan. Avoid overcrowding, as this can impede even heating. If your box has a rack, utilize it.
Operating and Maintaining Your Homemade Black Garlic Fermenter
With your box built and garlic prepped, the next phase is setting it into motion.
- Set Temperature: Set your digital thermostat to the desired temperature, typically around 140°F (60°C).
- Monitor Humidity: If using a water dish, check it periodically and refill as needed to maintain humidity. If relying on wrapped garlic, ensure the wraps remain sealed.
- Patience is Key: The process requires significant time. Resist the urge to open the box frequently, as this releases heat and humidity, prolonging the process and affecting consistency.
- Monitoring Progress: After about 3 weeks, you can carefully remove one bulb to check its progress. Peel back the wrapping and gently squeeze a clove. It should be soft, dark brown to black, and have a sweet, tangy aroma. If it’s not dark or soft enough, re-wrap it tightly and return it to the box for another week or more. The total time can range from 3 to 8 weeks, sometimes even longer for larger bulbs or specific desired textures.
- Aroma Management: Be aware that the initial stages of black garlic production can produce a strong garlic smell. It typically mellows into a pleasant roasted aroma over time. Placing your box in a garage, utility room, or a well-ventilated area can help mitigate the odor indoors.
Troubleshooting Common Issues with Your DIY Black Garlic Setup
Even with careful planning, you might encounter some issues. Here’s how to address them:
Garlic is too dry or hard.
This is a common problem, usually caused by insufficient humidity or excessive heat.
- Increase Humidity: Ensure your garlic bulbs are tightly wrapped in plastic wrap and foil. If using a water dish, make sure it’s regularly refilled. Consider adding a small sponge soaked in water.
- Check Temperature: Verify that your thermostat is accurately controlling the temperature and not running too high. Lower the temperature slightly if readings are consistently above the ideal range.
- Even Heat Distribution: If some garlic is dry while others are fine, a lack of air circulation might be creating hot spots. Consider adding a small fan.
Garlic is too wet or moldy.
While rare, this can occur if conditions are too damp or temperatures are too low, encouraging unwanted microbial growth.
- Reduce Humidity: Ensure the box isn’t sealed too tightly, allowing for minimal air exchange. If using a water dish, remove it temporarily.
- Verify Temperature: Double-check that your temperature is consistently above 135°F (57°C). Any prolonged dips below this temperature can promote mold.
- Air Circulation: A small fan can help prevent stagnant, overly humid pockets.
Inconsistent results.
Some bulbs or cloves might turn out perfectly, while others are still pale or firm.
- Temperature Fluctuations: Your thermostat might not be holding a steady temperature. Invest in a more reliable controller or improve insulation.
- Poor Insulation: Gaps in your box’s insulation can lead to cold spots. Seal any leaks with foam or silicone.
- Overcrowding: Ensure garlic bulbs are not packed too tightly, allowing heat to circulate evenly around each one.
- Garlic Quality: Starting with fresh, healthy, uniformly sized garlic bulbs can help.
Electrical issues/safety concerns.
When working with electricity and prolonged heat, safety is paramount.
- Wiring Check: Always ensure all electrical connections are secure and properly insulated with electrical tape.
- Proper Grounding: Ensure your thermostat and heating pad are plugged into grounded outlets.
- Overheating: If you notice any unusual smells, smoke, or excessive heat from components, immediately unplug the system and troubleshoot. Never leave a DIY electrical project unattended for extended periods until you are confident in its stability.
Conclusion
Building your own black garlic box with a heating pad empowers you to create this gourmet ingredient with precision and pride. By understanding the Maillard reaction and carefully selecting and assembling your components, you gain full control over the process. Remember, consistent temperature above 135°F (57°C) and high humidity are the twin pillars of success, coupled with the virtue of patience. Embark on this rewarding culinary journey, and you’ll soon be enjoying the sweet, savory depth of homemade black garlic. What creative dishes will you elevate with your freshly made black garlic?
Frequently Asked Questions
What is the ideal temperature range for making black garlic at home?
The ideal temperature range is generally between 120°F and 190°F (49°C to 88°C), with many home enthusiasts finding 140°F (60°C) to be optimal. It is crucial that the temperature never drops below 135°F (57°C) to prevent the growth of harmful bacteria.
How long does it take to make black garlic in a DIY box?
The process typically takes 3 to 8 weeks (21 to 56 days). Factors like the specific temperature, humidity levels, size of garlic bulbs, and desired texture can influence the total duration. Larger bulbs or a lower end of the temperature range will generally require more time.
How do I maintain humidity in my homemade black garlic box?
You can maintain high humidity by individually wrapping each garlic bulb tightly in plastic wrap and then aluminum foil. Additionally, placing a small, heat-safe dish of water inside the box can contribute to the ambient humidity, especially if your box isn’t perfectly sealed.
Can I use a regular oven or slow cooker instead of a DIY box?
While some methods adapt existing appliances like slow cookers or rice cookers on a “keep warm” setting, a dedicated DIY box with a precise thermostat offers better temperature control. Regular ovens are generally unsuitable due to their inability to maintain low, consistent temperatures for extended periods and high energy consumption.
What are the safety concerns when making black garlic at home?
The primary safety concern is maintaining a consistent temperature above 135°F (57°C) to prevent the growth of harmful bacteria like Clostridium botulinum. It is highly recommended to use a reliable digital thermostat with a probe to monitor and control the temperature accurately throughout the entire process.
Why is my black garlic dry and hard instead of soft and chewy?
Dry and hard black garlic usually indicates insufficient humidity during the process. This can be caused by garlic not being wrapped tightly enough, low ambient humidity in the box (if not using a water source), or the temperature running too high and drying out the garlic too quickly.