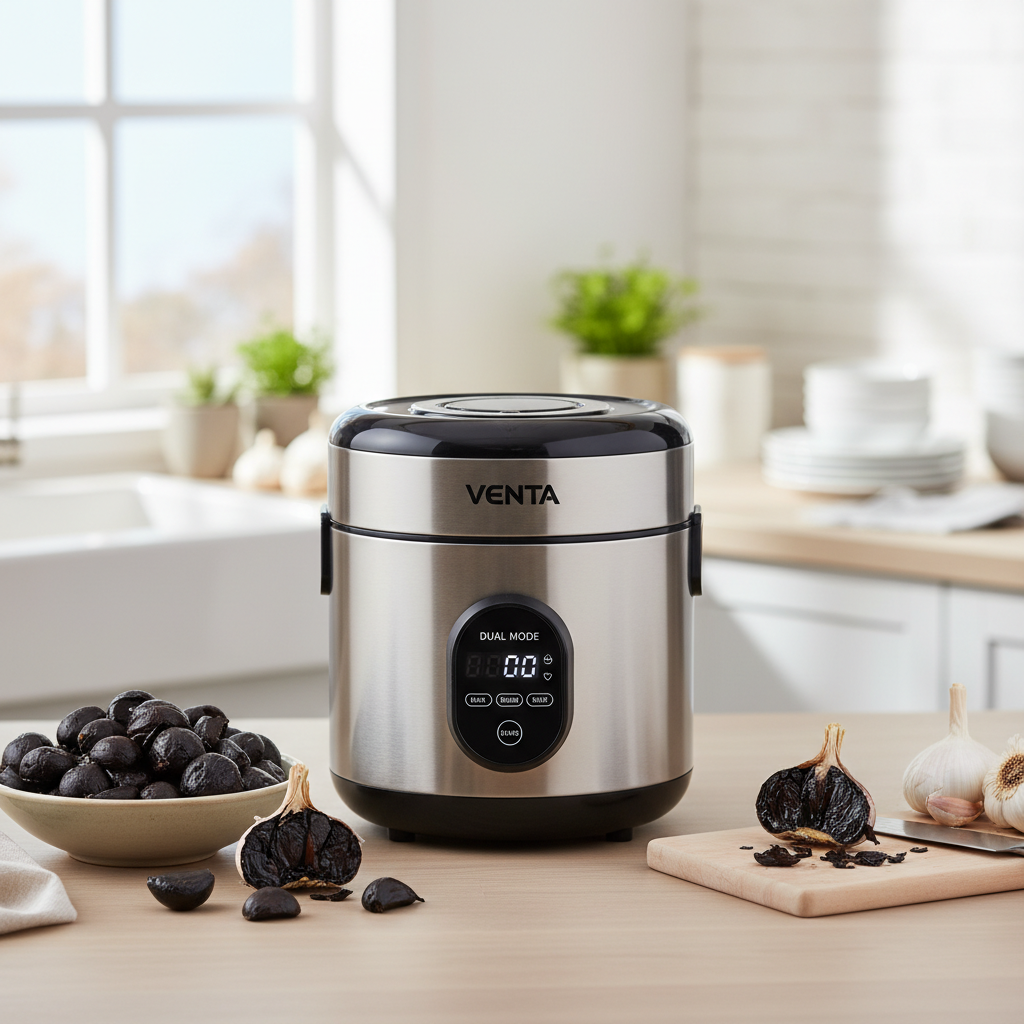
Black garlic, with its distinctive sweet and savory notes reminiscent of balsamic vinegar or tamarind, has captivated gourmands and health enthusiasts alike. This culinary gem, once a secret of Asian kitchens, is now a prized ingredient globally, known for its soft, chewy texture and rich umami depth. While readily available in specialty stores, the price tag can be daunting. The good news? You can easily and safely create this exquisite ingredient right in your own kitchen using a common appliance: your rice cooker.
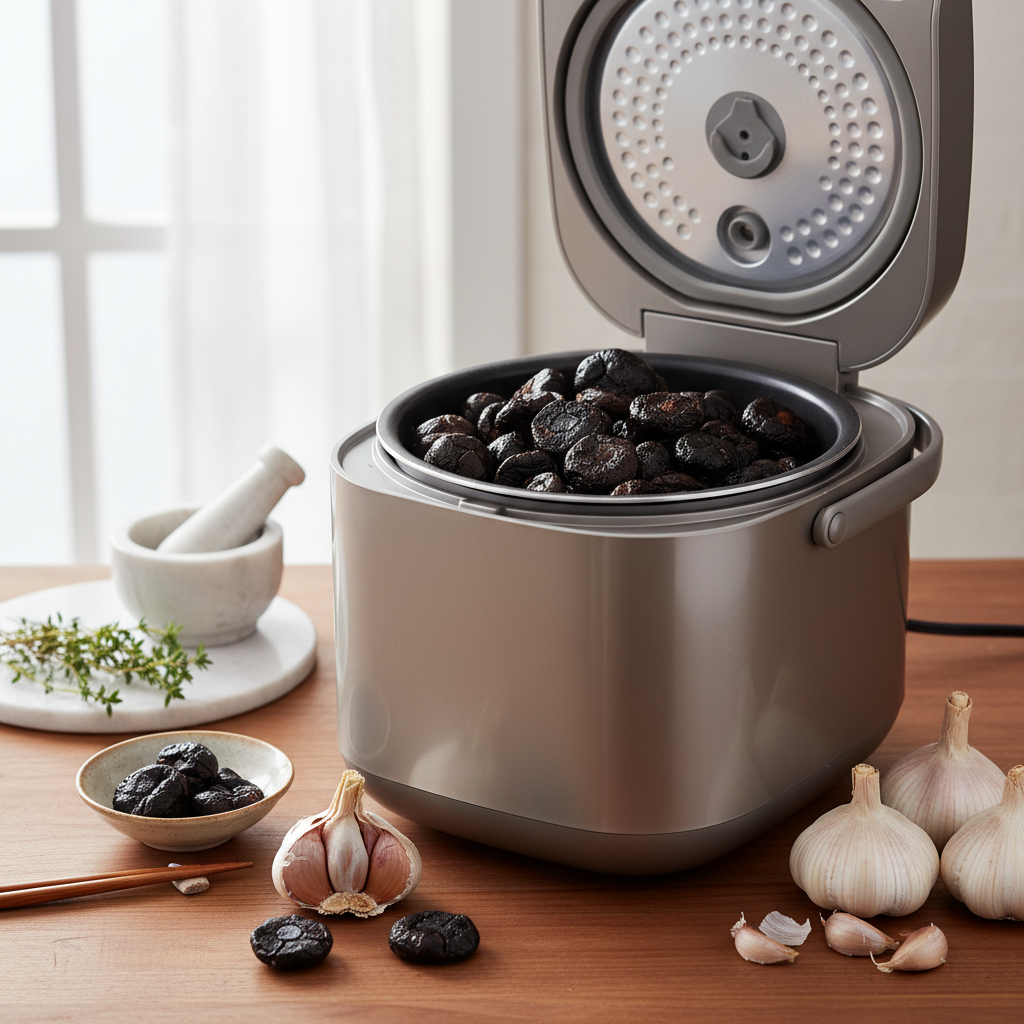
What is Black Garlic and Why Make it at Home?
Black garlic is essentially regular garlic that has undergone a slow aging process under controlled heat and humidity. Contrary to popular belief, it’s not a fermentation, but rather a complex chemical reaction known as the Maillard reaction. This process caramelizes the natural sugars and breaks down the harsh, pungent compounds in fresh garlic, transforming its flavor, aroma, and texture. The cloves turn a deep, glossy black, becoming soft, sticky, and date-like with a unique sweet-savory profile.
Beyond its gourmet appeal, black garlic is celebrated for its enhanced nutritional benefits. The aging process increases its antioxidant content and potency, making it a superfood with potential health advantages. Making black garlic at home is not only incredibly cost-effective compared to buying it pre-made, but it also allows you to control the quality and ensure you’re using fresh, wholesome ingredients. It’s a rewarding DIY project that yields a versatile ingredient perfect for elevating countless dishes.
Essential Equipment for Your Black Garlic DIY Project
Embarking on your black garlic adventure requires minimal specialized equipment. The star of the show is your trusty rice cooker.
- Rice Cooker: Choose a model with a reliable “keep warm” setting. Most rice cookers maintain a temperature within the ideal range of 120°F to 190°F (approximately 49°C to 88°C) on this setting, which is crucial for the Maillard reaction to occur without burning the garlic. If you use your rice cooker daily for cooking rice, consider investing in a separate, inexpensive one dedicated solely to black garlic production. This prevents you from tying up your primary appliance for several weeks.
- Fresh Garlic Bulbs: The fresher the better. Select firm, unblemished whole garlic heads. Avoid those that are sprouting or soft.
- Foil or Oven Roasting Bags: These are essential for maintaining the high humidity needed inside the rice cooker, preventing the garlic from drying out and ensuring a moist, gelatinous texture. Heavy-duty aluminum foil or standard oven roasting bags work well.
- Optional but Recommended:
- Thermometer: To verify your rice cooker’s “keep warm” temperature, especially if you’re unsure.
- Wooden Chopsticks or Steamer Basket: Placing these at the bottom of the rice cooker pot can help elevate the garlic, promoting even heating and air circulation, particularly for larger batches.
Step-by-Step Guide: Making Black Garlic Safely in Your Rice Cooker
Making black garlic is a test of patience, not skill. Follow these steps for a successful and safe homemade batch.
Preparing Your Garlic
|
Our Picks for the Best Black garlic fermenter in 2026
As an Amazon Associate I earn from qualifying purchases.
|
||
| Num | Product | Action |
|---|---|---|
| 1 | WantJoin Black Garlic Fermenter 6L - Full Automatic Intelligent Control Black Garlic Maker, 360° Even Fermented,Makes 3-4 LBS Garlic Fermenter Machine, Makes Multi Clove & Whole Clove Garlic |

|
| 2 | 6L Black Garlic Fermenter,Yogurt Maker with Adjustable Temperature & Time Control,Kimchi machine,Sweet Rice Wine Maker Full Automatic,Natto Maker,FCC UL Listed |
|
| 3 | 6L Black Garlic Fermenter Multifunctional Intelligent Fermenter Pot 6L Black Garlic, Sweet Rice, Natto,Yogurt Maker Garlic Fermenter Machine DIY Cooker |
|
| 4 | INTBUYING 6L Black Garlic Fermenter,Garlic Ferment,Black Garlics Ferment Pot,Full Automatic Intelligent Control Black Garlics Maker Black Garlic Maker |
|
| 5 | 5L Black Garlic Fermenter Full Automatic Intelligent Control Garlics Maker Multi Clove Garlic Cooker FCC UL Approved |
|
| 6 | 5L Black Garlic Fermenter, Automatic Garlic Fermenting machine, Wine Fermenting Machine, Yogurt Maker with Temperature Control |
|
| 7 | Moongiantgo 7.5L Black Garlic Fermenter, Automatic Intelligent Control Garlic Fermenter Natto, Yogurt, Kimchi, Wine Fermenter Machine, Garlic Cooker with Precise Time Temperature Control, 110V (Brown) |
|
| 8 | Moongiantgo 8L Black Garlic Fermenter Garlic Fermenting Machine, Easy One-Button Operation Automatic Intelligent Large Capacity Black Garlic Maker with Precise Time Control for 6-16 Days, 110V (8L) |
|
| 9 | 110V 6L Black Garlic Fermenter Intelligent Fully Automatic Black Garlic Machine Black Garlics Ferment Pot Garlic Ferment Box Black Garlic Maker DIY Cooker |
|
| 10 | TECHTONGDA 5L Black Garlic Fermenter 110V Garlic Cooker 3D Heating Full Automatic Intelligent Control |
|
- Select and Inspect: Begin with fresh, firm, whole garlic bulbs. Gently wipe away any dirt with a clean, damp cloth. Carefully inspect each head, ensuring there are no signs of rot, mold, or green sprouts. These imperfections can affect the final quality and shelf life of your black garlic.
- Keep Whole and Unpeeled: Do not peel or separate the individual cloves. The papery skin helps protect the garlic during the long aging process and keeps the moisture locked in.
Setting Up Your Rice Cooker for Success
- Line the Pot (Optional): If you’re concerned about uneven heating or wish to elevate the garlic, you can place a few wooden chopsticks crisscrossed at the bottom of the rice cooker pot or use a steamer basket with its rim removed (for larger quantities).
- Arrange the Garlic:
- Foil Method: Individually wrap each whole garlic bulb tightly in aluminum foil. This helps to seal in moisture for each bulb.
- Roasting Bag Method: Place all your cleaned garlic bulbs into a large oven roasting bag. This method can be easier and often results in less odor escaping during the process.
- Place in Rice Cooker: Carefully arrange the wrapped garlic bulbs (or the sealed roasting bag containing them) inside the rice cooker pot. Ensure there’s a little space between the bulbs for even heat distribution.
- Seal for Optimal Humidity:
- If using individual foil wraps, you may also want to loosely cover the top of the entire rice cooker pot with an additional layer of foil or cling film, especially if your rice cooker lid doesn’t create a tight seal. This minimizes moisture loss.
- If using a roasting bag, gently press out any excess air before tying it securely closed. The bag itself will create a humid environment.
- Plug In and Set: Close the rice cooker lid, plug it in, and set it to the “keep warm” function. Ensure it remains continuously on this setting for the entire duration.
The Aging Process: Patience is Key
The transformation of white garlic to black garlic is a slow dance of time and gentle heat.
- Duration: The aging process typically takes between 7 days and 4 weeks, with some methods extending to 3-5 weeks depending on your rice cooker model, the garlic’s freshness, and your desired consistency. Some users report success in as little as 7-9 days, especially when carefully managing humidity, while others find 2-3 weeks to be the sweet spot.
- Monitoring Progress: Avoid the temptation to frequently open the rice cooker, as each time you do, precious heat and moisture escape, potentially extending the process and affecting the quality.
- For roasting bag method: If doing multiple layers, you can gently flip the bag over at around day 7 to promote even aging.
- After initial period: Begin checking a few bulbs around day 8-9 (for shorter methods) or after 2 weeks (for longer methods). Select a bulb, unwrap it, and gently peel a clove. It should be entirely black, soft, and somewhat sticky or jelly-like. If it’s still pale, firm, or brown, re-wrap it tightly and return it to the rice cooker for another week.
- Consistency: The goal is a uniform deep black color and a tender, melt-in-your-mouth texture throughout the clove. If some parts are dry or hard, it indicates insufficient humidity or uneven heating.
Safety Measures and Troubleshooting Common Issues
While making black garlic in a rice cooker is generally safe, it’s wise to be aware of potential concerns and how to address them.
Appliance Safety & Odor Management
- Extended Operation: Leaving an appliance on for several weeks can raise concerns. Modern rice cookers are generally designed for continuous operation on “keep warm” settings, but it’s essential to use an appliance in good working order. Always place the rice cooker on a stable, heat-resistant surface, away from flammable materials. If you have any doubts about your appliance, supervise it regularly.
- Odor Management: The aging garlic will produce a distinct aroma. While some find it pleasant, others describe it as intense. To minimize this, consider placing your rice cooker in a well-ventilated area such as a garage, a utility room, or even a bathroom with an open window. The roasting bag method is often praised for significantly reducing the overall odor compared to just foil-wrapping.
- Electrical Cost: Running a rice cooker on “keep warm” consumes minimal electricity, typically adding only a few dollars to your monthly utility bill.
Common Problems and Solutions
- Garlic Drying Out: If your black garlic turns out hard or excessively dry, it’s usually due to a lack of humidity. Ensure your garlic is tightly wrapped in foil or securely sealed in an oven roasting bag. Covering the rice cooker lid with extra foil or cling film can help maintain a humid environment, especially if your rice cooker’s seal is not perfect. Avoid opening the lid too frequently.
- Garlic Not Blackening (or unevenly): This indicates insufficient heat or time.
- Time: Give it more time. Some batches simply require longer.
- Temperature: Verify your rice cooker’s “keep warm” temperature. If it’s too low (below 120°F/49°C), the Maillard reaction will be too slow or won’t occur effectively. If it’s too high (consistently above 190°F/88°C), it might dry out or burn the garlic.
- Arrangement: Ensure bulbs are not too tightly packed, allowing heat to circulate.
- Unpleasant Odor or Mold: While rare if conditions are met, any truly foul, pungent odor (beyond the expected savory garlic smell) or visible mold indicates spoilage. Discard the batch immediately and clean your rice cooker thoroughly before attempting again. This usually points to improper garlic selection or insufficient heat allowing bacterial growth.
Post-Processing, Storage, and Culinary Uses
Once your black garlic has reached its dark, soft, and aromatic perfection, a few final steps ensure its longevity and readiness for culinary delight.
- Air Drying: After removing your black garlic from the rice cooker, unwrap it and let it air dry on a rack or plate in your kitchen for about a week. This slight drying period helps stabilize its texture and reduces stickiness, making it easier to handle and store. It should feel spongy, almost like a gummy bear.
- Storage: Store your homemade black garlic in an airtight container in the refrigerator. It will last for several weeks, if not months. For even longer preservation, individual cloves or whole bulbs can be frozen for up to a year without significant loss of flavor or texture.
- Culinary Uses: The deep, complex flavor of black garlic adds an incredible dimension to a wide array of dishes. Its sweet, tangy, and umami notes make it incredibly versatile.
- Savory Spreads: Mash it into hummus, mix it with butter for a gourmet spread, or simply smear it on toast or crackers.
- Dressings and Sauces: Incorporate it into salad dressings, vinaigrettes, or pan sauces for a rich, sophisticated twist. It pairs wonderfully with classic chimichurri or basil pesto.
- Pasta and Pizza: Add thinly sliced or minced black garlic to pasta dishes or as a unique pizza topping.
- Meat and Vegetables: Rub it onto roasts, mix it into marinades, or sauté it with vegetables to deepen their flavor profile.
- Direct Consumption: Many enjoy eating a clove daily for its health benefits.
Conclusion
Creating your own black garlic in a rice cooker is a straightforward, budget-friendly, and rewarding process that unlocks a world of flavor. By following a few simple steps for preparation, managing humidity, and ensuring safe appliance operation, you can transform ordinary garlic into an extraordinary culinary ingredient. This DIY approach not only saves you money but also connects you more intimately with the food you eat, empowering you to infuse your meals with a unique depth that will impress your palate and your guests. So, are you ready to embrace the art of black garlic making and elevate your home cooking?
Frequently Asked Questions
How long does homemade black garlic last?
Properly stored in an airtight container, homemade black garlic can last for several weeks to a few months in the refrigerator. For extended storage, it can be frozen for up to a year without compromising its unique flavor or texture.
Can I use a slow cooker instead of a rice cooker?
While some methods attempt to use slow cookers, they often run at temperatures too high, leading to charred or dry garlic. Rice cookers, particularly their “keep warm” setting, offer the consistent low temperature and humidity critical for the Maillard reaction, making them a more reliable choice for black garlic.
What type of garlic is best for making black garlic?
Fresh, whole, and unblemished regular white garlic bulbs are ideal. Avoid garlic that shows signs of sprouting, mold, or softness, as these can affect the quality and safety of your final product. Larger cloves can sometimes yield a more succulent texture.
Why did my black garlic turn out dry and hard?
A dry and hard result typically indicates a lack of sufficient humidity during the aging process. Ensure each garlic bulb is tightly wrapped in foil or placed in a sealed oven roasting bag. Covering the rice cooker lid with additional foil or cling film can also help trap moisture inside, preventing dehydration.
Is it really safe to leave my rice cooker on for weeks?
Modern rice cookers are generally designed to safely maintain a “keep warm” setting for extended periods. However, always use an appliance in good working order, place it on a stable, heat-resistant surface, and ensure it’s away from flammable materials. If you’re concerned, position it in a well-ventilated area and check on it periodically.